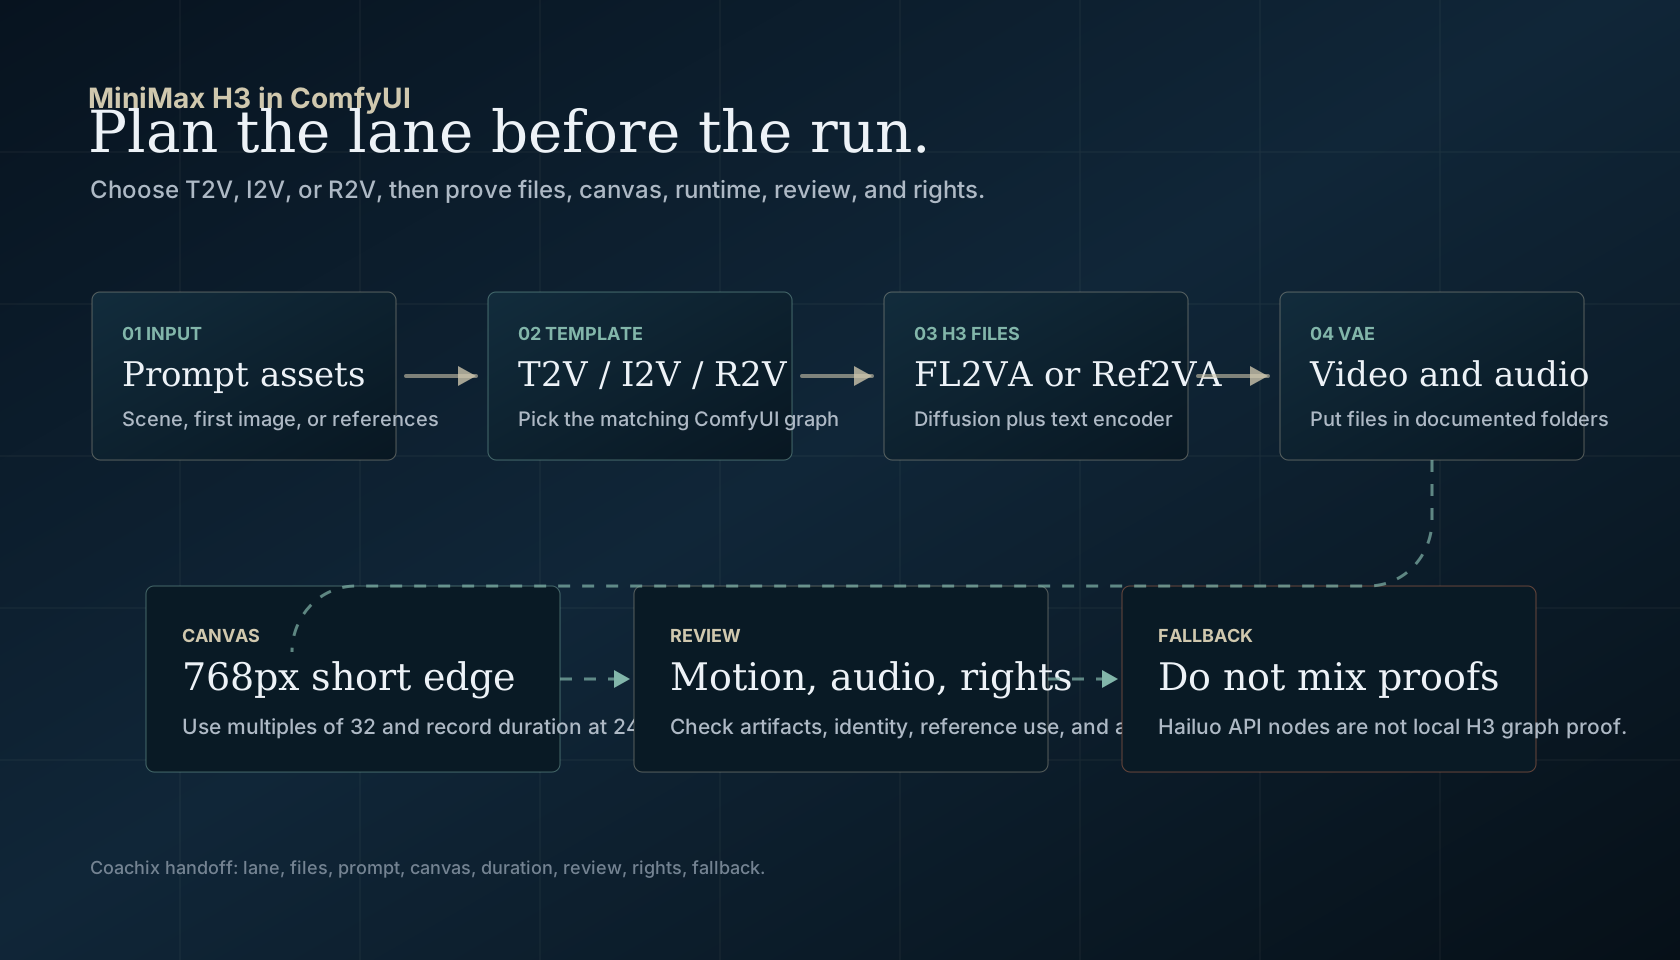
Use this page like a runbook for the ComfyUI H3 examples: update ComfyUI, choose the T2V, I2V, or R2V template, place the H3 weights in the right folders, set resolution, then bring the review plan back into Coachix.
Choose the MiniMax H3 workflow example before downloading weights. Use this page for the same path a ComfyUI reader expects: Key features, Getting started, Setting the output resolution, ComfyUI Native Workflows, model downloads, model storage, prompting tips, and Sage Attention.
A useful ComfyUI H3 run starts with a lane decision: T2V, I2V, or R2V, then model files, canvas rules, reference limits, and review before export.
MiniMax H3 in ComfyUI is a practical open-weight workflow path, not just a model announcement. ComfyUI documents native H3 examples for text-to-video, image-to-video, and reference-to-video, while the MiniMax-H3 repository explains the broader open-weight architecture and hosted-module caveats.
Native stereo audioPlan video and audio together. H3 workflows can produce synchronized video with stereo sound instead of treating audio as a separate afterthought.
Multimodal contextUse text alone, an image anchor, or a set of image, video, and audio references depending on the lane.
Reference controlR2V is the route when identity, style, motion, camera movement, or voice should come from reference material.
Open-weight local controlComfyUI exposes H3 as native workflows, but local readiness still depends on version, files, hardware, and license review.
Getting started
1
Update ComfyUI to 0.30.0 or later before looking for the MiniMax H3 templates.
2
Open Template Library, go to Video, and pick the MiniMax H3 T2V, I2V, or R2V example.
3
Use the model download prompt as a setup checklist, then confirm every file is in the documented folder before judging output quality.
Setting the output resolution
Each H3 example should get width and height from the workflow resolution control before the run is judged. Keep the first pass small enough to debug model files and prompt behavior.
Use the Resolution Selector as the source of width and height for the H3 node.
Keep dimensions on the 32-pixel grid and start with the fast preview size until the graph is stable.
For fuller quality, plan around the 768px short-edge native canvas and the 768x1344 cap before asking for longer or heavier runs.
ComfyUI Native Workflows
The first useful decision is not the model name. It is the native ComfyUI example that matches the input you actually have. Use the tabs for a fast lane choice, then read the matching workflow section below.
MiniMax H3 Text to Video (T2V)
Use T2V when the prompt itself carries the scene, subject, camera move, timing, and audio direction.
MiniMax H3 Text to Video (T2V)
Use T2V when the prompt itself carries the scene, subject, camera move, timing, and audio direction.
Run in ComfyUI
Search MiniMax H3 T2V in Template Library.
Write one scene first, then timed shots, camera movement, dialogue, sound effects, or music.
Keep the first test short and review prompt adherence before adding references.
Use tags such as <Picture 1>, <Video 1>, and <Audio 1> in the order the inputs are connected.
Stay within the documented reference limits before diagnosing quality.
Use the ref2va diffusion weights here; do not reuse the fl2va assumption from T2V or I2V.
Prompt writing guide
For reference-driven generation, name each reference by tag, assign it a role, and say which details should be retained in the target shot.
Speeding up generation with Sage Attention
Treat Sage Attention as a speed option after the basic workflow runs.
Match the wheel to the local PyTorch and CUDA stack, then add the KJNodes patch node or launch with the global flag.
Keep fallback notes because unsupported tensor dtypes can fall back to standard attention in parts of the graph.
Coachix run note
Before the ComfyUI run becomes production work, bring the lane, files, prompt, references, canvas, duration, expected output, rights boundary, and fallback into Coachix. That keeps the workflow example useful after the video is generated.
Prepare a MiniMax H3 in ComfyUI test plan. Choose T2V, I2V, or R2V; list the exact prompt, reference assets, model-file checks, ComfyUI version, canvas and duration settings, optional Sage Attention choice, success criteria, rights review, and fallback workflow. Do not invent local hardware capacity, API keys, download completion, exact file availability, public-use rights, or hosted-only H3 features.
ComfyUI documents native MiniMax H3 workflows and says to update to ComfyUI 0.30.0 or later. Treat your own install as ready only after the template loads and the required model files are in place.
Which workflow should I start with?
Start with T2V for a pure prompt, I2V when a first image should anchor the clip, and R2V when multiple images, videos, or audio references should guide the result.
Where do the model files go?
ComfyUI documents diffusion models under models/diffusion_models, text encoders under models/text_encoders, and VAE files under models/vae. Check the current tutorial before moving files.
Is the Hailuo node the same thing?
No. The MiniMax Hailuo Video Node is an API-style Hailuo route. It is useful context, but it is not the same proof as an open-weight MiniMax H3 ComfyUI workflow.
Should Coachix run the generation?
Coachix should prepare the test plan, prompt, file checklist, review table, and approval boundary. The actual ComfyUI generation still needs the local install, model files, hardware, and rights review to pass.